CrowdStrike Mac Self Installer Instructions
Follow these steps to run the CrowdStrike self-installer, admin rights required.
- Download the installation file from Box (log-in required)
- Open the downloaded Falcon.pkg file to start the installation
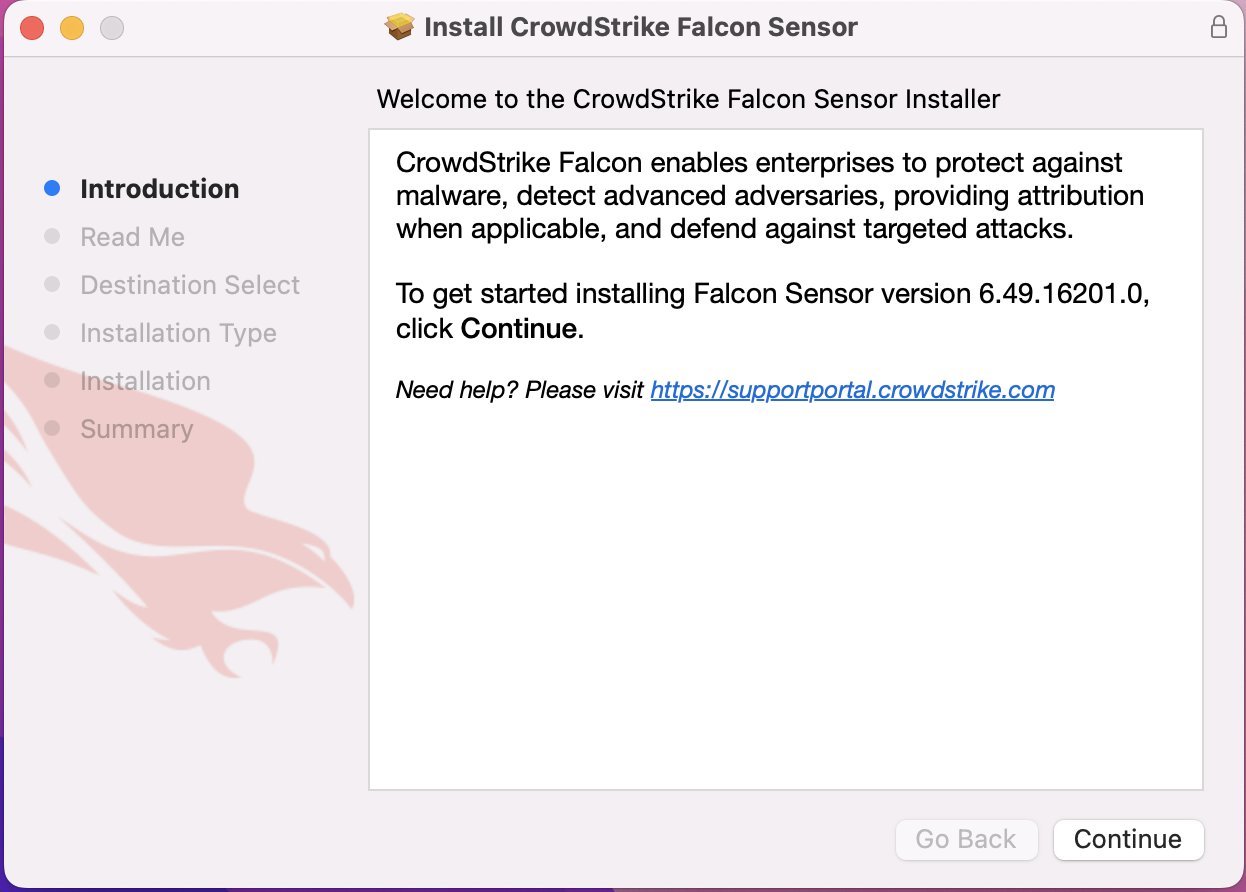
- On the Introduction window, click Continue


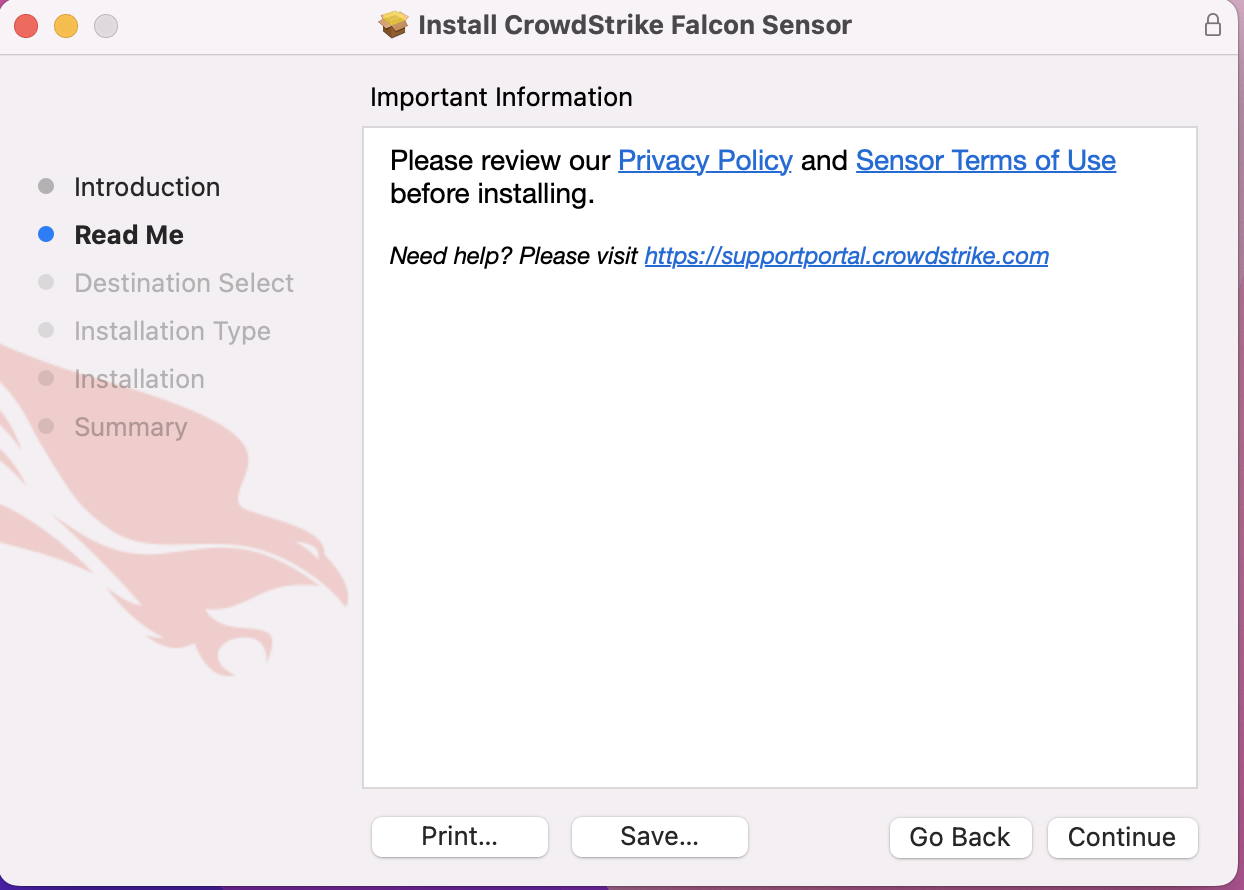
4. On the Read Me window, click Continue


5. On the Destination Select window, choose the hard drive where the software will be installed
6. On the Installation Type window, verify the selected hard drive and click Install


7. Enter the username and password of an account with admin rights on the computer and click Install Software


8. You may receive a Background Items Added popup

9. You will be prompted to enter a Customer ID, which can be found here. Click Continue


10. Click the Setup button next to Network Filter not loaded


11. Click Allow in the Falcon … Network Content popup

12. Click Continue
13. Click the Setup button next to Extension not loaded


14. Click Open System Settings in the System Extension Blocked popup

15. Click the Allow button below: System software from application "Falcon"


16. Enter the username and password of an account with admin rights on the computer and click Modify Settings

17. You will receive a Falcon Notifications popup. Close Privacy and Security

18. Click Continue
19. Click the System Settings button next to Full Disk Access not granted


20. In Full Disk Access, next to Falcon Sensor click the slider to the right.


21. Enter the username and password of an account with admin rights on the computer and click Modify Settings

22. Close the Full Disk Access Window and click Continue
23. You should see the following, click Finish


24. In the installer on the Summary window, click Close to complete the installation.

